
Installation For Web Clicker
What I need?
|

|

|
|
Windows PC with XP or later |
Internet Connection |
Opticon Barcode Scanner |
Installation Guide
If you already have the clicker installed please go to the below link and uninstall the current version first
>>> Clicker Uninstall Guide <<<
Step 1
First download the Opticon drivers and once downloaded Run the file. (This step is only required if you have never had the software installed before)
|
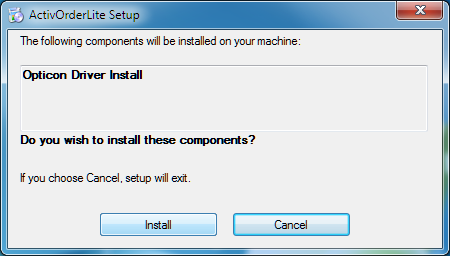
The following screens will appear for installation of Opticon drivers:
Click install to continue
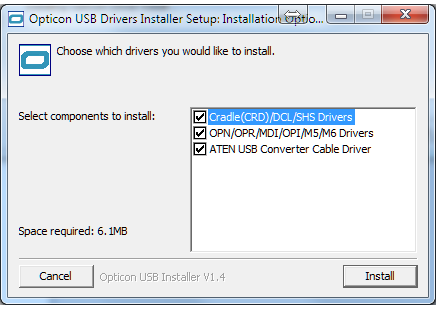
All 3 Opticon driver options should be ticked, click Install
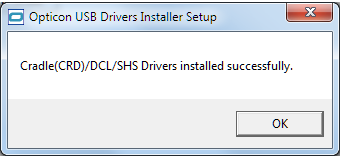
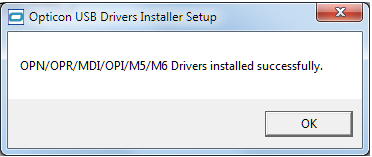
For each of the 3 drivers a confirmation of install will appear as below:

Step 2
Now click the Install button below, this will download our install tool. When complete please run the install tool.
|
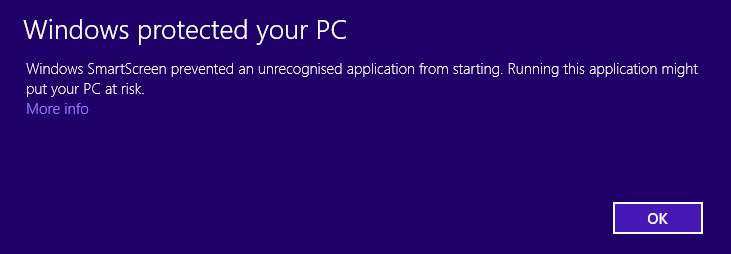
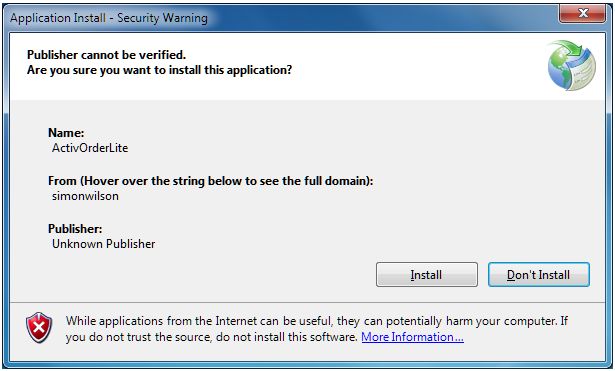
The following is only relevant to Windows 8/8.1 users:
If you are presented with the following on your screen then please click more the info link under the text:
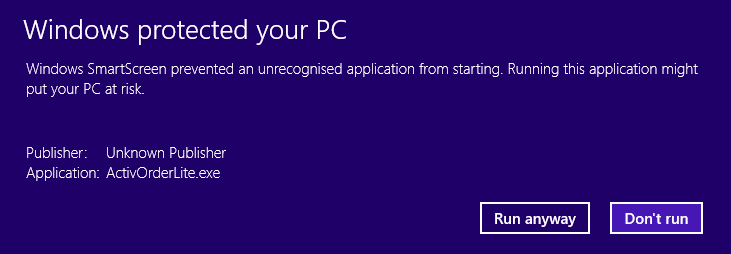
And then click Run Anyway on the next screen as below:
Step 3
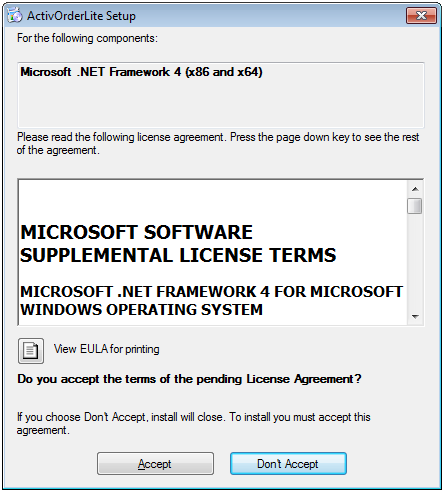
When run, our installation tool will first install pre-requisites for ActivOrderLite, these may include the .Net framework 4.0.
The following screen will only appear if installation of .Net 4.0 is required:
Click Accept to continue
Activ Order Lite Application Install:
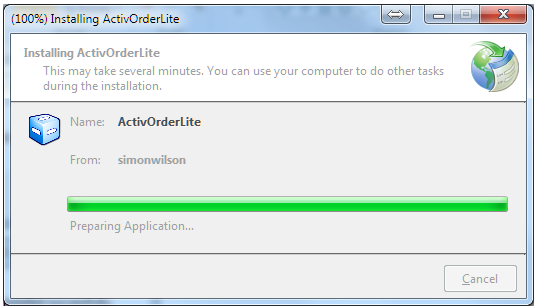
When the prerequisites are installed we can install our application, click Install when prompted:
You will see a progress screen as below.
Step 4: First Run
When install is complete, ActivOrderLite will automatically run for the first time, you will be presented with the following, enter the requested details and click next, at any time you have the option to go back.
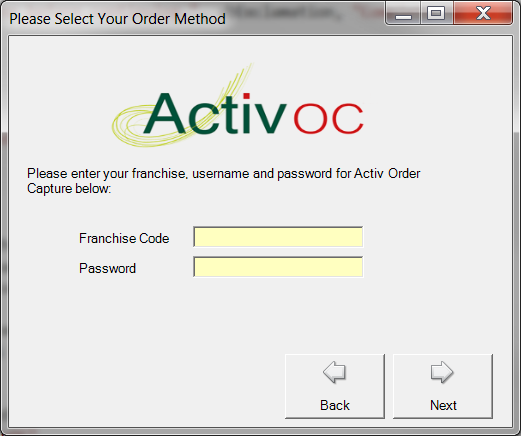
|
When you have entered your details a progress bar will display until products/suppliers are received.
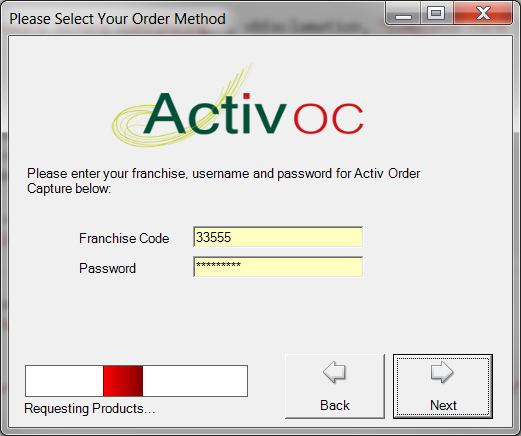
|
Step 5: Opticon configuration
On the final setup wizard page you enter the Opticon barcode scanner port. If you have not connected the device before, now is the time. Make sure the barcode scanner is connected to your PC by the cable. When you connect the device it might display the relevant port in the bottom right corner of your screen, wait until the device has finished installing before continuing.
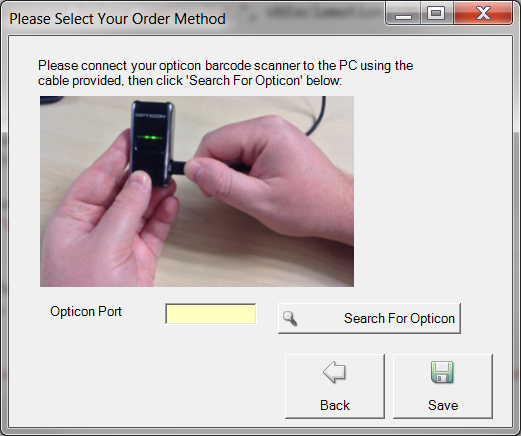
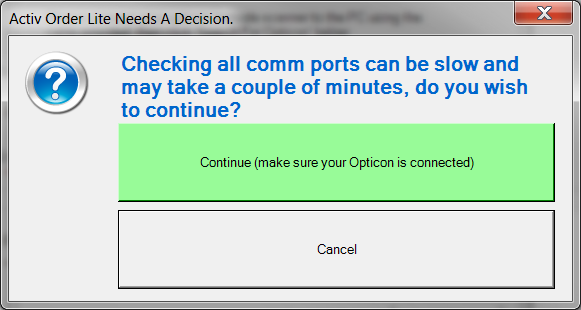
If the port number was displayed, enter it now. If not, you can use the "Search for Opticon" feature, this searches all of your comm ports to find the Opticon. When using the search it first asks you to confirm your choice (see below) as the search can take a few minutes to complete.
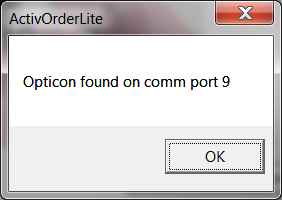
When finished a small window will pop-up to confirm it has found a port.
All that is left to do is click on Save, which will store all of the wizards settings and leave the system ready for your first order.
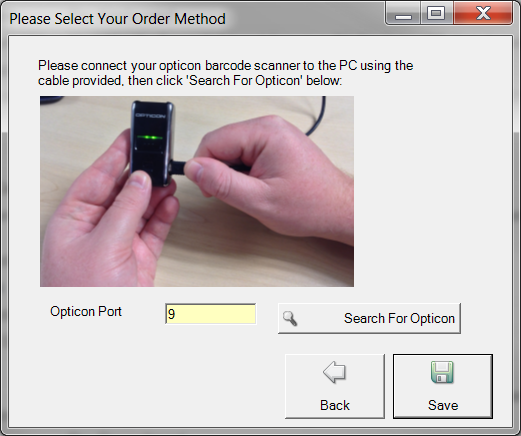
You are now ready to make your first order.
>>> Click Here To Download Quick Start Guide <<<